Welcome to the Tutorial and Ideas for Costumes
Tutorial One: Creating huge bows that stay up
Often in anime and video games, even in American animation- we can find the need to create a huge over-sized bow. Or as many of my friends have termed it "GIGANTIC BOW OF DOOM!" Why this nick name you might be wondering? Well Simple, I have done 2 of these types of bows myself and find that to create a decent bow you are going to need a lot of patience, yards of light weight fabric, and creativity.
My first bow I created was for Ayane from the video game Dead or Alive 2. I had the amount of fabric right, but nothing else- this can be a costly lesson for beginning sewers and costuming people. Learn from my mistake. Don't use anything heavier than nylon/ lining material unless u are creating a Japanese Obi styled bow which becomes stiff enough to hold itself up. For my Suzuka bow I have used nylon lining to create a shiny and very light weight bow that looks far more natural than the flat bow I designed for Ayane's.
Things you will need:
- 6 yards of the fabric you wish to use
- scissors and sewing machine, and accessories that normally go with this
- a stiffener (the type us use to make costume obi's- ask the fabric place about this for different strengths)
- optional: fluffing for pillows- the more you use the heavier your bow becomes but the fuller it looks, use personal taste on this
Below are pictures of the bow in process. If there are questions please contact me through the cosplay website (my contact information is there).
Steps
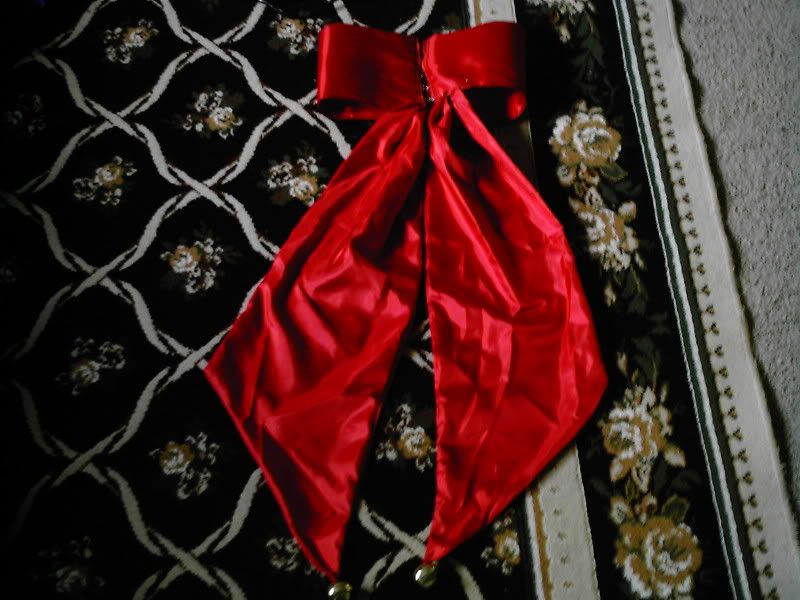
First, design the tails of your bow for length and width and style. Here, in this picture you can see the Suzuka bow is designed with curves at the end, very long, and with bells. Iím also using an obi styled belt to sew on the tails so that they stay bunched up how I want them and the top and will flow nicely at the bottom.
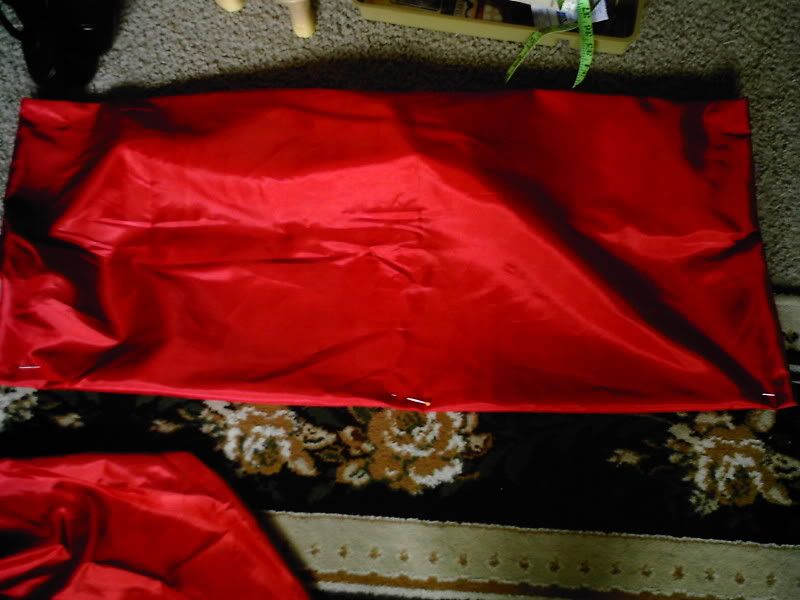
Second, Make a rectangular shaped pillow case style for the actual bow. The length of this bow depends on personal taste and how large you want your bow to be. Mine here in 34 inches long (my tails are 36 inches).
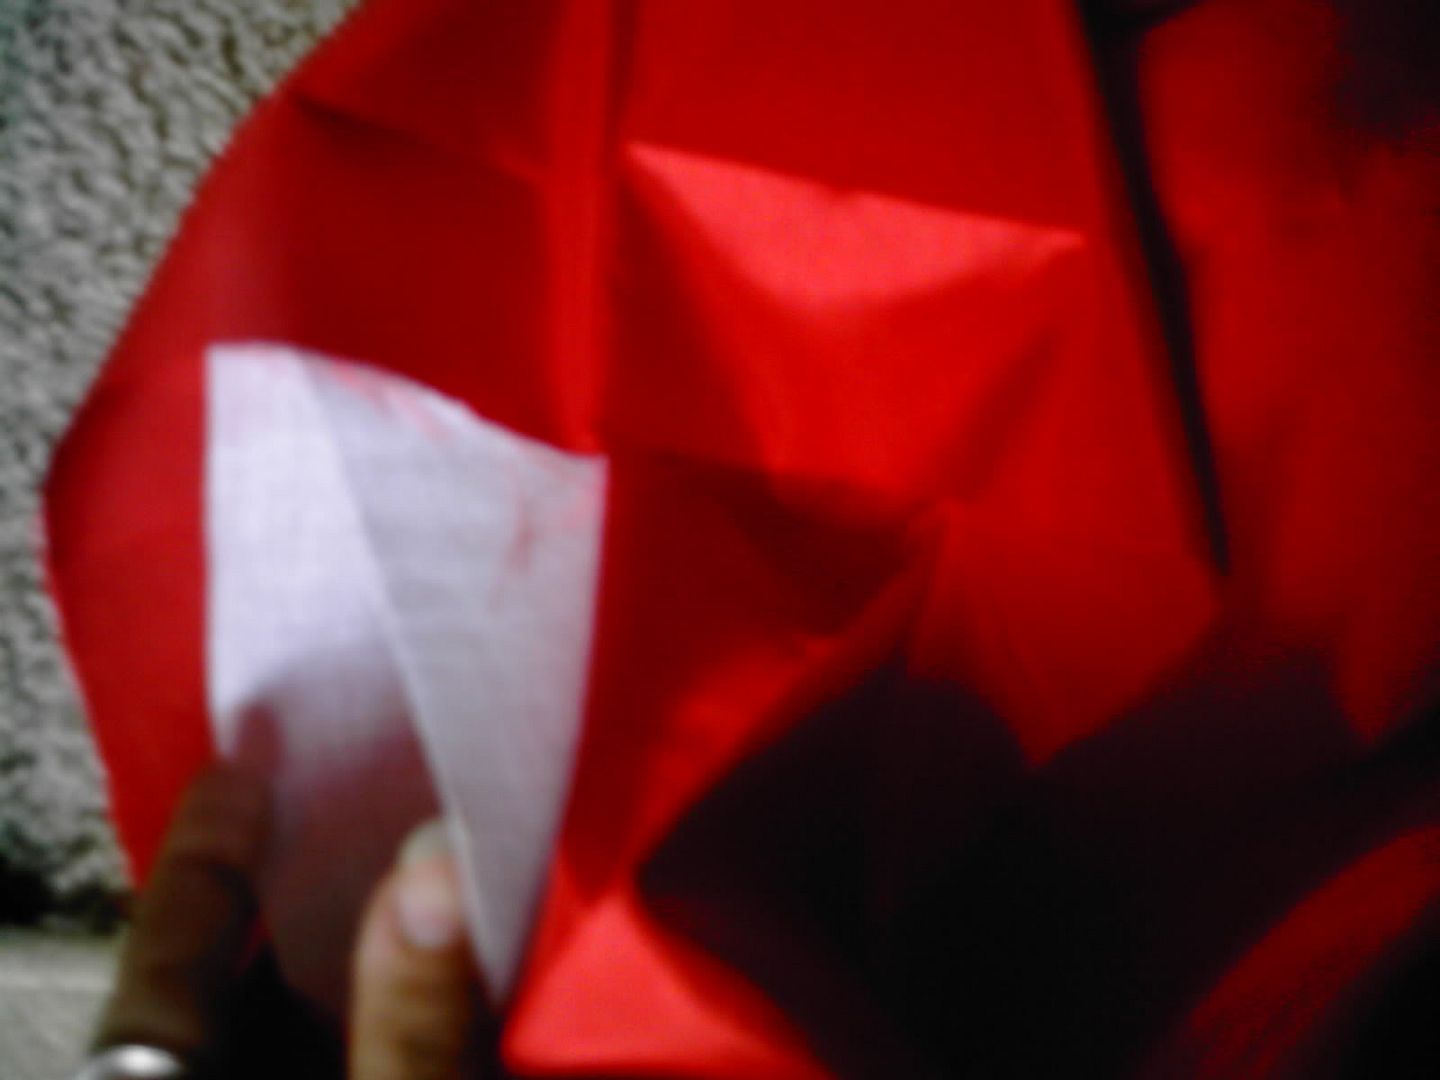
Third, before you seal off your pillow case, add your stiffener material folded over to what will be the top part of the bow. This is the point in which you will want to add the pillow fluff to your bow to make it fluffier. Seal it up and sew the edges.
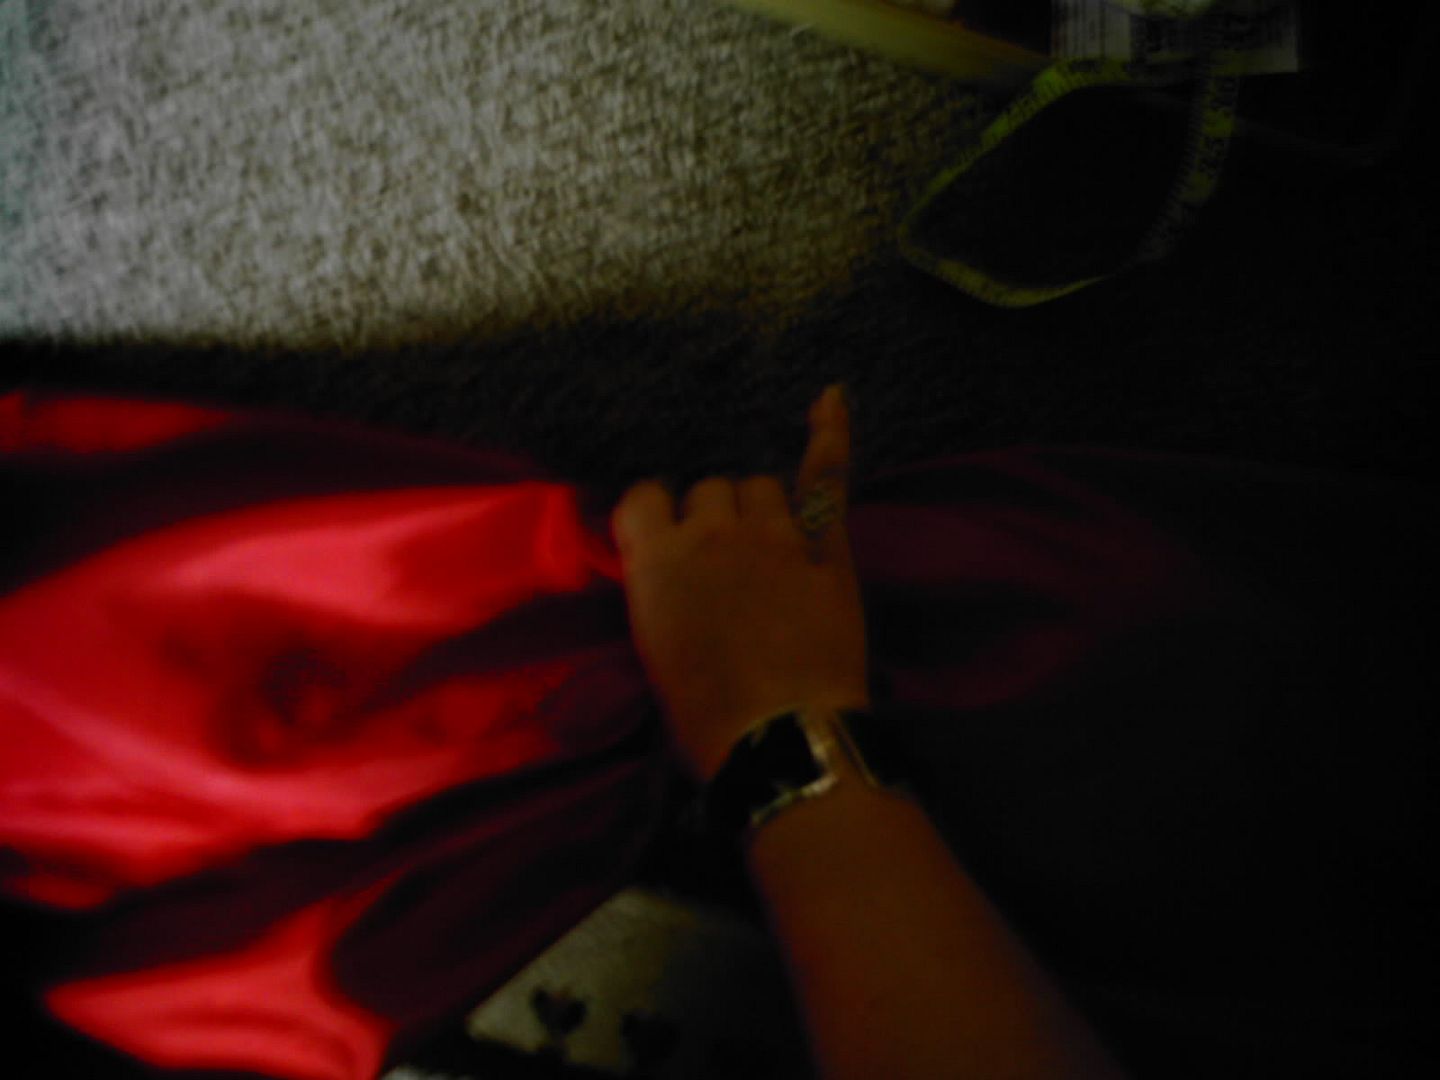
Fourth, take the center of the pillow case looking bow and pull down on the center (see the first image). When you have it like this take the sash and tie it so that the bow will stay shaped like this (see second image).
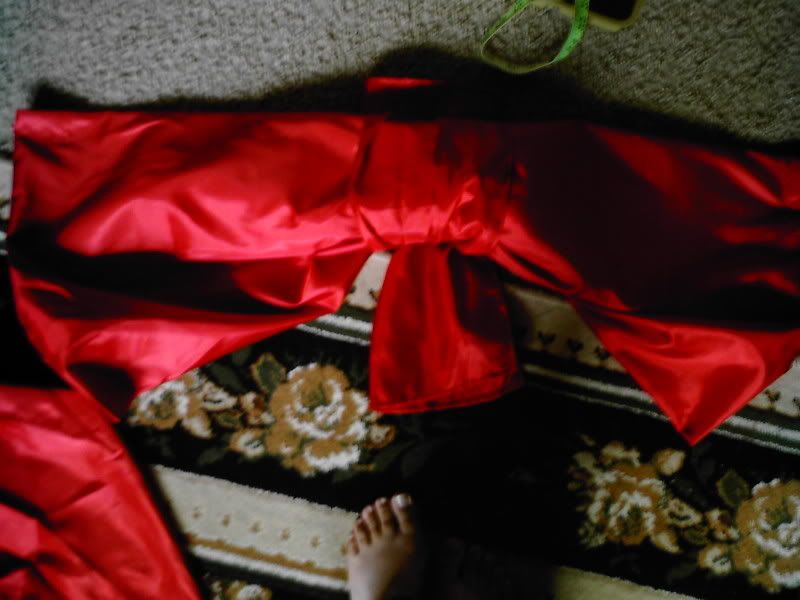
Fifth and final, Attach the bow to the belting. This can be done several ways, I like to use safety pins so I can remove the bow from the belt and make it easier to travel with. The choice for this however, as always will be left up to you.
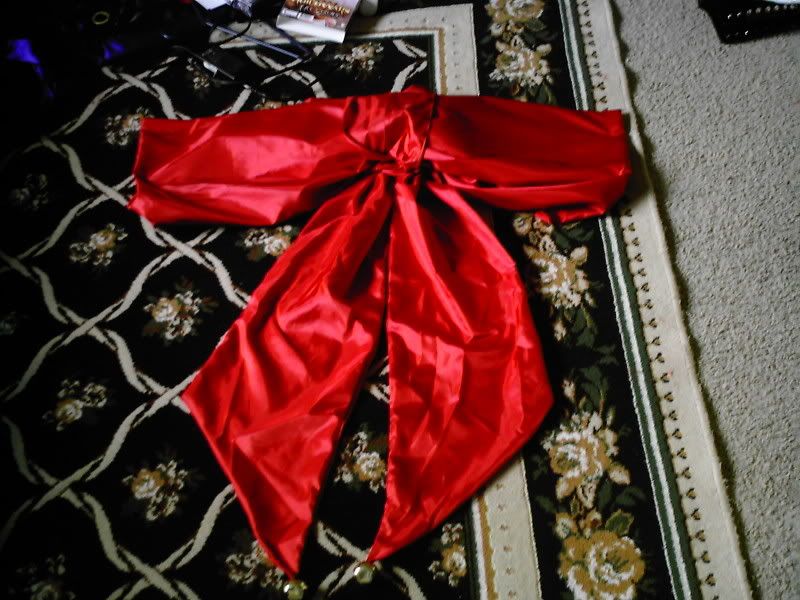 ,
,
